0063
TM 1-1740-221-13&P&P
FUEL TANK - (CONTINUED)
2
1
3
15
4
5
6
6
7
14
8
9
13
12
11
10
WP0054F1
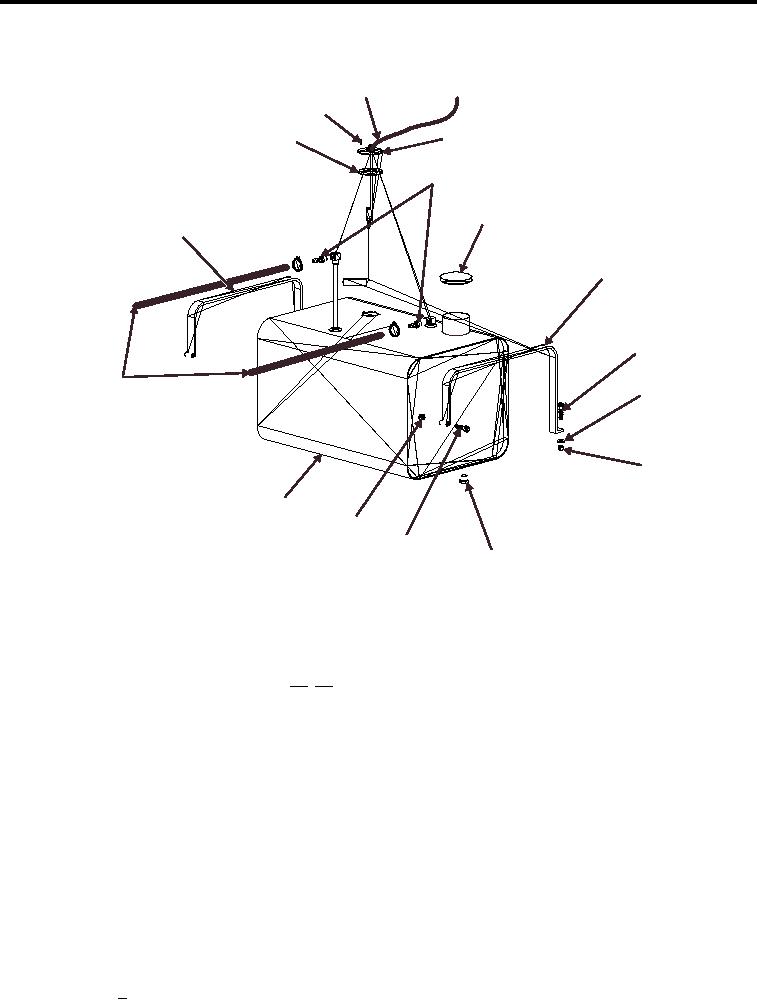
Figure 1. Fuel Tank (Removal and Installation)
NOTE
If fuel tank will be replaced Steps 1213 must be performed.
12. Remove ive screws (Figure 1, Item 1) securing fuel tank sender to tank. Carefully extract sender and gasket
(Figure 1, Item 3 and 15) from the tank.
13. Remove two fuel ittings (Figure 1, Item 4) (note orientation for reinstallation) from the fuel tank.
14. Carefully lift fuel tank (Figure 1, Item 13) and remove from tank compartment.
END OF TASK
CLEANING (FOR DISPOSAL OR REPAIR)
1. Install drain plug on bottom of fuel tank.
2. Pour a detergent and water solution into fuel tank.
3. Install iller cap.
4. Agitate mixture by rotating fuel tank. Ensure solution contacts all interior surfaces.
5. Remove drain plug and drain cleaning solution into a suitable container.
6. Flush fuel tank with clean water until all evidence of fuel is removed.
7. Repeat Step 2 if necessary and re-rinse with clean water.
8. Allow fuel tank to air dry. Dispose of tank or send for repair.
END OF TASK
00632

