TM 1-1500-204-23-11
agent completely evaporates. Cure
per manufacturer s instructions.
To prevent damage to part, ensure fastener
has been coated with release agent prior to
installation in fastener hole.
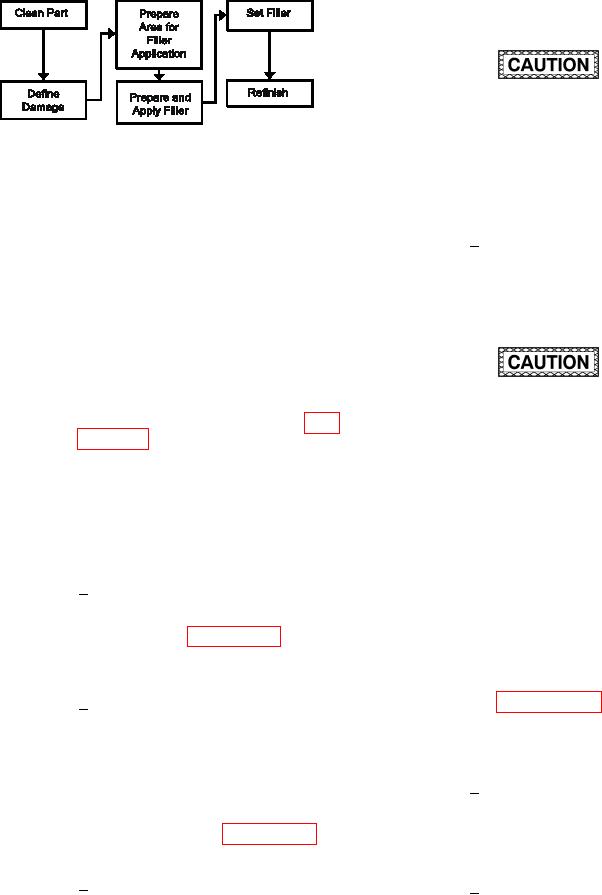
Figure 7-50. Process Flow Diagram for
DO NOT allow release liquid to come into
Countersink Repair
contact with repair of repair details. Disbonds
may result in loss of structural integrity.
(1) Facilities, Equipment and Materials. The
following equipment and materials are required: Vac-
4
Insert the release agent coated
uum Cleaner, HEPA Filter, Weights, Shot Bags,
fastener into the hole containing
Clamps, Silicon Carbide Abrasive Paper, Wiping Cloth,
the damaged countersink until the
Adhesive, Liquid (See System Speciic Technical Man-
head is approximately 0.25 to 0.375
ual), Release Film, Fabric (See System Speciic Tech-
inch above surface of skin, see
nical Manual), Aluminum Sheet Stock, 0.063 inches or
paragraph for paint removal steps..
thicker (Local Procurement), Release Liquid, Cotton
Tipped Applicator, Solvent.
(2) Countersink Repair Procedure.
Reduced strength will result if the incorrect
(a) Remove dirt, grease and aircraft luids
mix ratio is used, if an excessive amount
from repair area as described in para-
of air is introduced into the adhesive during
mixing, or if mixing is inadequate and may
result in loss of structural integrity.
(b) Deine Damage. Visually inspect dam-
aged fastener hole countersink area to
Pressure must be applied to adhesive within
ensure damage does not extend into
the pot life of the resin. For ambient temper-
fastener hole.
atures in excess of 90 F, decrease this time
by 50%. An unsatisfactory repair will result
(c) Prepare Surfaces For Filler Application.
if the resin gels before adequate pressure is
applied and may result in loss of structural
Lightly sand countersink area using
1
integrity. Select and prepare a heat blanket
180 grit abrasive paper to remove
(if required) and all necessary vacuum bag
sealant/paint and other foreign
materials prior to mixing resin.
debris, see paragraph 6-3 for paint
removal steps. Vacuum area to
(d) Prepare a small quantity (25 grams) of
remove sanding residue.
adhesive/chopped carbon iber mixture
per paragraph 6-17, with mrF=5 (5 parts
2
Clean fastener hole and counter-
by weight of chopped iber).
sink area using a cotton tipped
applicator, wiping cloth and solvent.
Thoroughly clean the area with
(e) Apply Filler.
repeated wiping until no residue is
left on the cotton tipped applica-
Apply iller to the countersink area
1
tor or the wiping cloth. Allow the
under the fastener head. Apply
solvent to evaporate a minimum of
suficient material so that squeeze
30 minutes, see paragraph 6-7 for
out will occur when the fastener is
surface preparation steps.
seated in position, see paragraph.
Obtain the fastener used in the fas-
3
Apply iller to the countersink area
2
tener hole being repaired. Coat the
under the fastener head. Apply
entire fastener with liquid release
suficient material so that squeeze
agent. Apply a second coat, wait-
out will occur when the fastener is
ing 15 minutes after each applica-
seated in position.
tion to ensure solvent in release

