
0077
TM 1-1740-221-13&P&P
BRAKE FRICTION PLATES (FRONT AXLE) - (CONTINUED)
REMOVAL
WARNING
The use of Personal Protective Equipment (PPE) is required when using or handling hazardous
materials associated with operating and maintaining equipment (jet fuel, hydraulic luid, brake
luid, ethylene glycol, cleaning solvents, compressed air, and engine/axle oil). Failure to use
PPE when handling these materials could result in injury or death.
NOTE
When changing friction plates, change all plates, do not mix new and old plates on the axle. To
ensure long brake plate life, ensure oil is changed at proper intervals to ensure worn friction
material does not damage seals.
If old plates are reused, note orientation of brake friction plates during removal and reinstall in
the same order.
1.
Disconnect battery negative cables (WP 0111).
2.
Jack vehicle front (WP 0029).
3.
Remove front tires (WP 0092).
4.
Drain front axle hubs (WP 0076).
5.
Remove 2 hub housing mount bolts (Figure 1, Item 1) (only one shown).
NOTE
It may be necessary to tap the hub housing with a mallet to crack the seal.
6.
Remove hub housing (Figure 1, Item 7).
7.
Remove and discard o-ring (Figure 1, Item 3).
8.
Remove snap ring (Figure 1, Item 5) and brake pressure plate (Figure 1, Item 4).
9.
Remove counter plates (Figure 1, Item 9) and friction plates (Figure 1, Item 14).
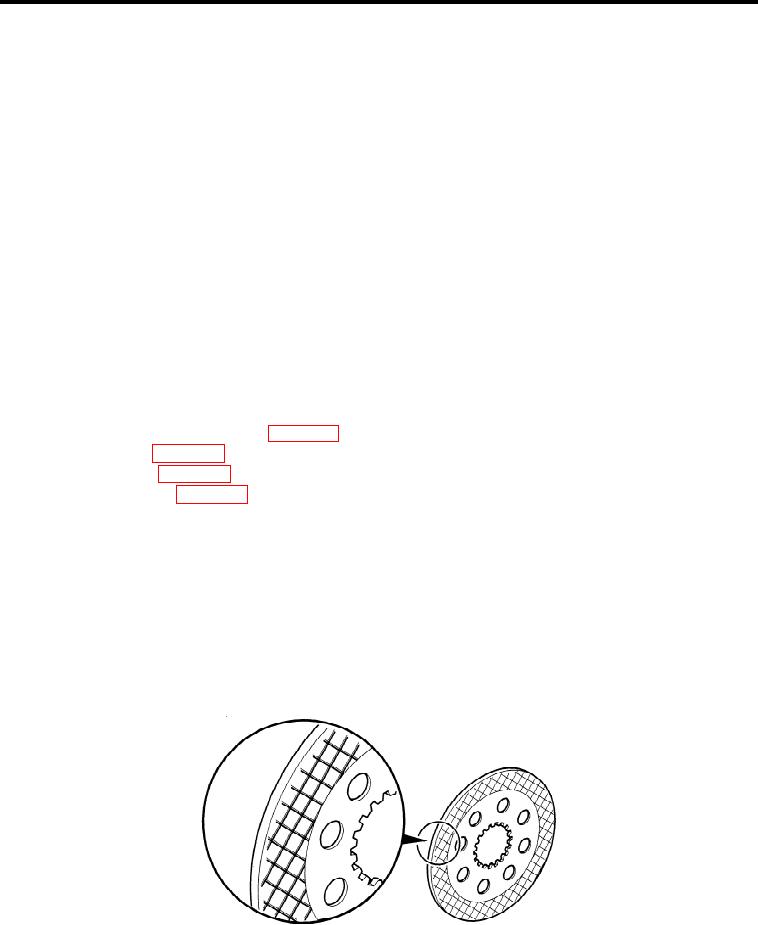
WP0068F2
Figure 2.
Friction Pad Wear
00773