0043
TM 1-1740-221-13&P&P
TRANSMISSION - (CONTINUED)
4.
Install 2 bolts, 2 nuts and 2 spacers into the eyelets of the transmission (Figure 5, Item 2).
5.
Place sling hook (Figure 5, Item 1) on bolts and snug sling to support the transmission (Figure 7).
6.
Position lywheel spacer ring on engine or transmission (Figure 7, Item 3).
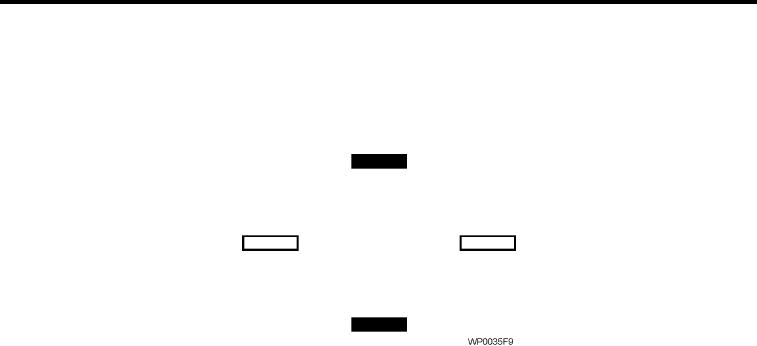
Figure 9.
Tang Alignment
WARNING
Use extreme caution when lifting heavy components. Never permit any part of the body to be
positioned under and engine, transmission being lifted or suspended. Use suitable lifting
equipment for heavy components. Power pack weight is 1800 lbs.
CAUTION
Ensure the torque converter tangs are aligned properly with the transmission pump tangs or the
transmission will not mate with the torque converter pump. Make sure that the transmission is
perfectly square to the engine when the two are connected together. Do not use bolts to pull
the components together, use only hand force or damage will occur (Figure 9).
7.
Lift and align transmission with engine, push into place.
8.
Install 9 transmission bell-housing bolts (Figure 6, Item 1). Leave out 2 bolts for installation of dipstick tube
clamp bracket (Figure 6, Item 3) and negative battery cable (Figure 6, Item 2) at noted locations (Figure 6).
NOTE
Bolt hole closest to drive shaft connection does not receive a mount bolt. The design of
transmission does not allow for bolt installation.
9.
Attach dipstick tube clamp (Figure 6, Item 3) and negative battery cable (Figure 6, Item 2) to appropriate
mounting holes (Figure 6).
10. Torque all transmission bell housing bolts (Figure 6, Item 1) to 30 ft-lbs using.
11. Remove sling, trans lifting weldment, 2 bolts, 2 nuts and 2 spacers from transmission.
NOTE
When installing transmission-mounting bracket, 5/8" washer may be used as spacers if required.
12. Install transmission mount bracket (Figure 4, Item 1) and secure with 2 bolts, 2 nuts (Figure 4, Item 2).
13. Connect oil cooler lines (Figure 5, Item 3).
00438

